
Last updated November 22, 2026
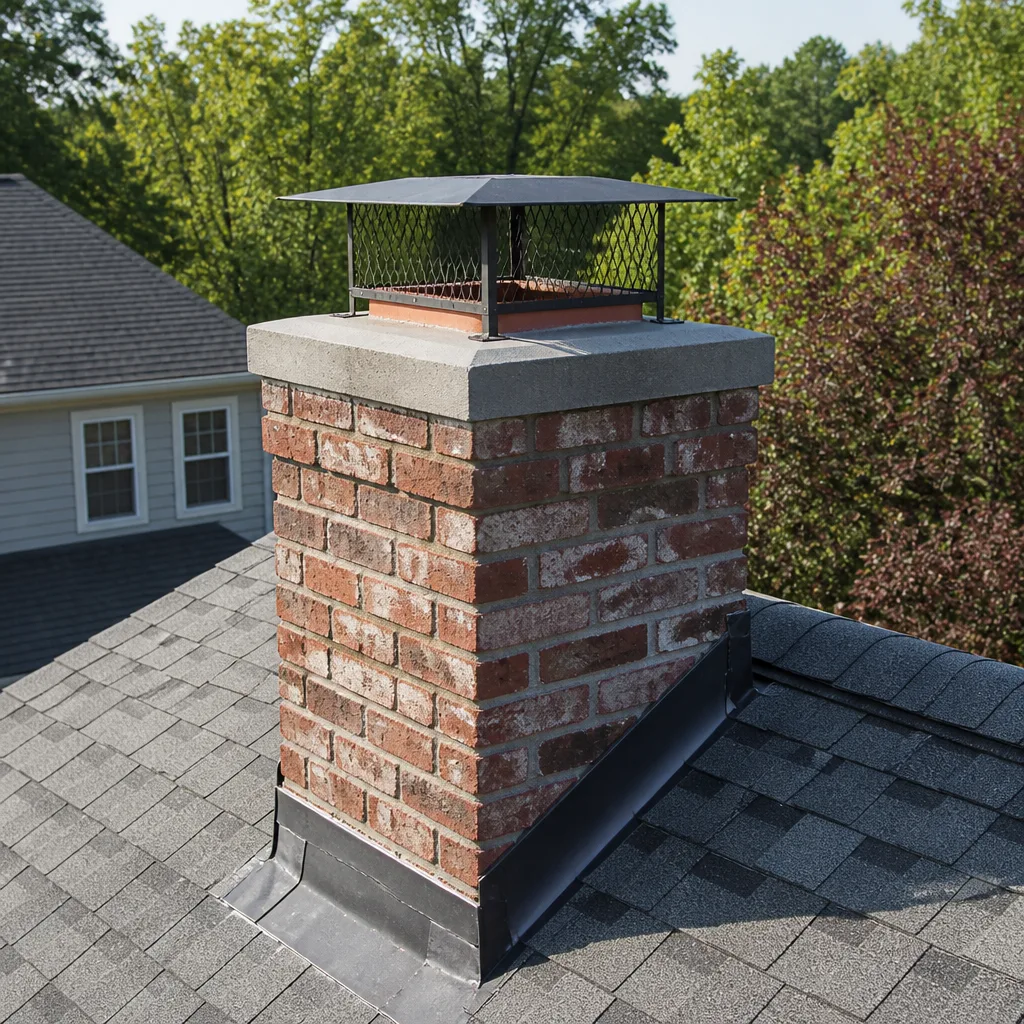 Sweep & inspection
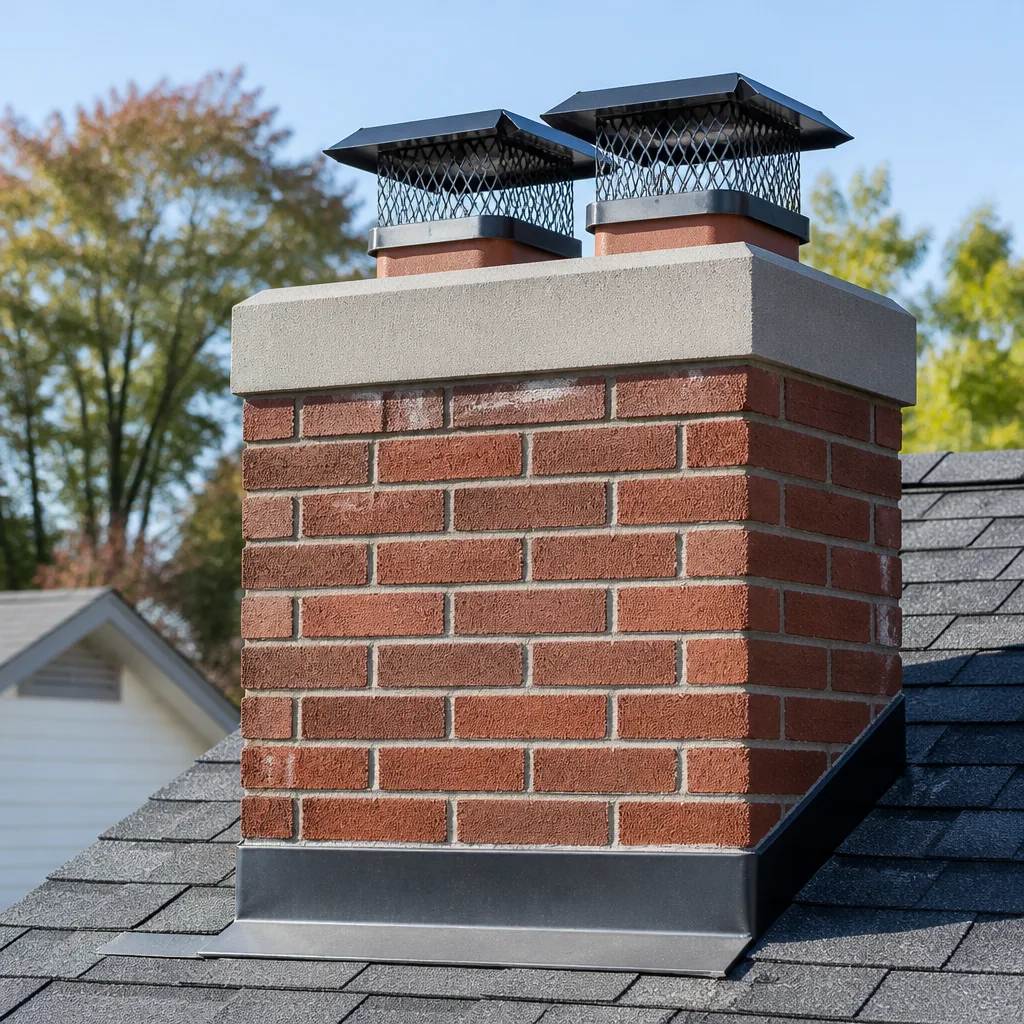 Caps & crowns
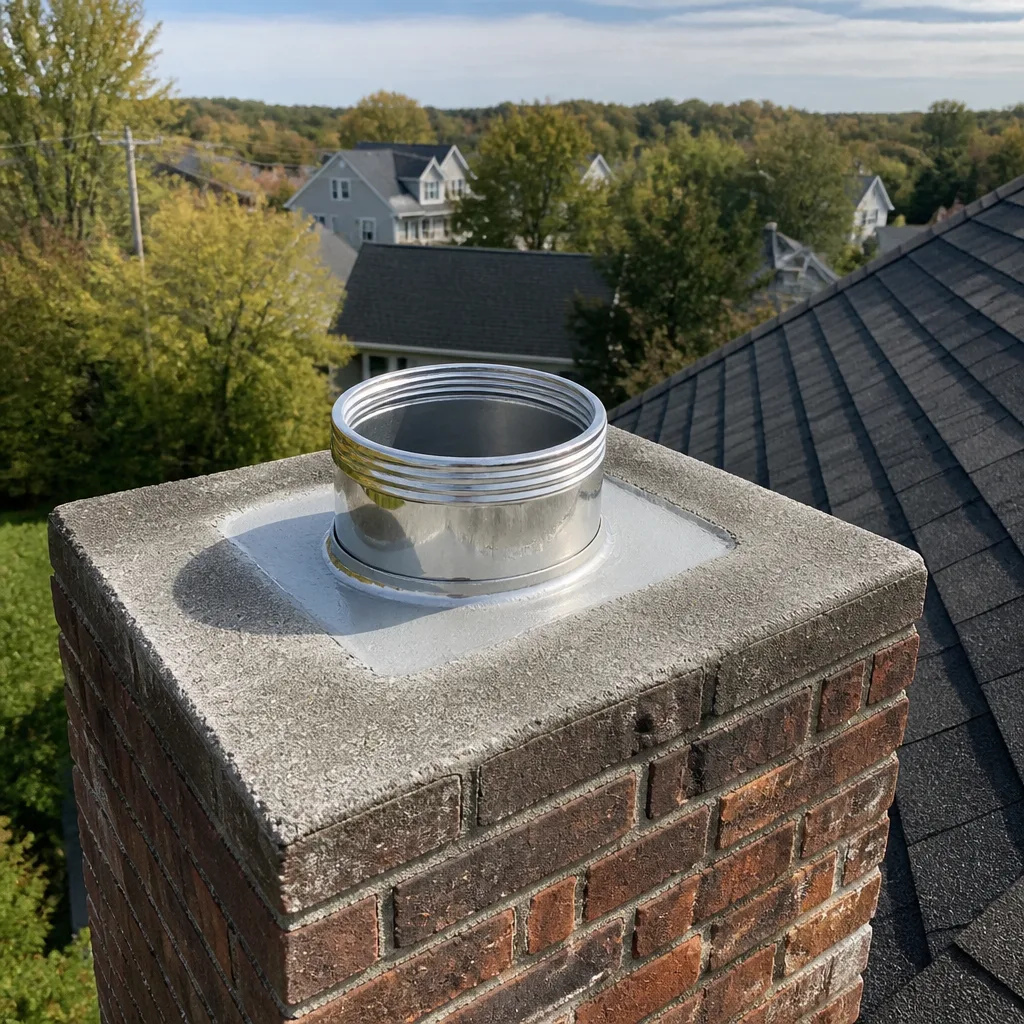 Flue relining
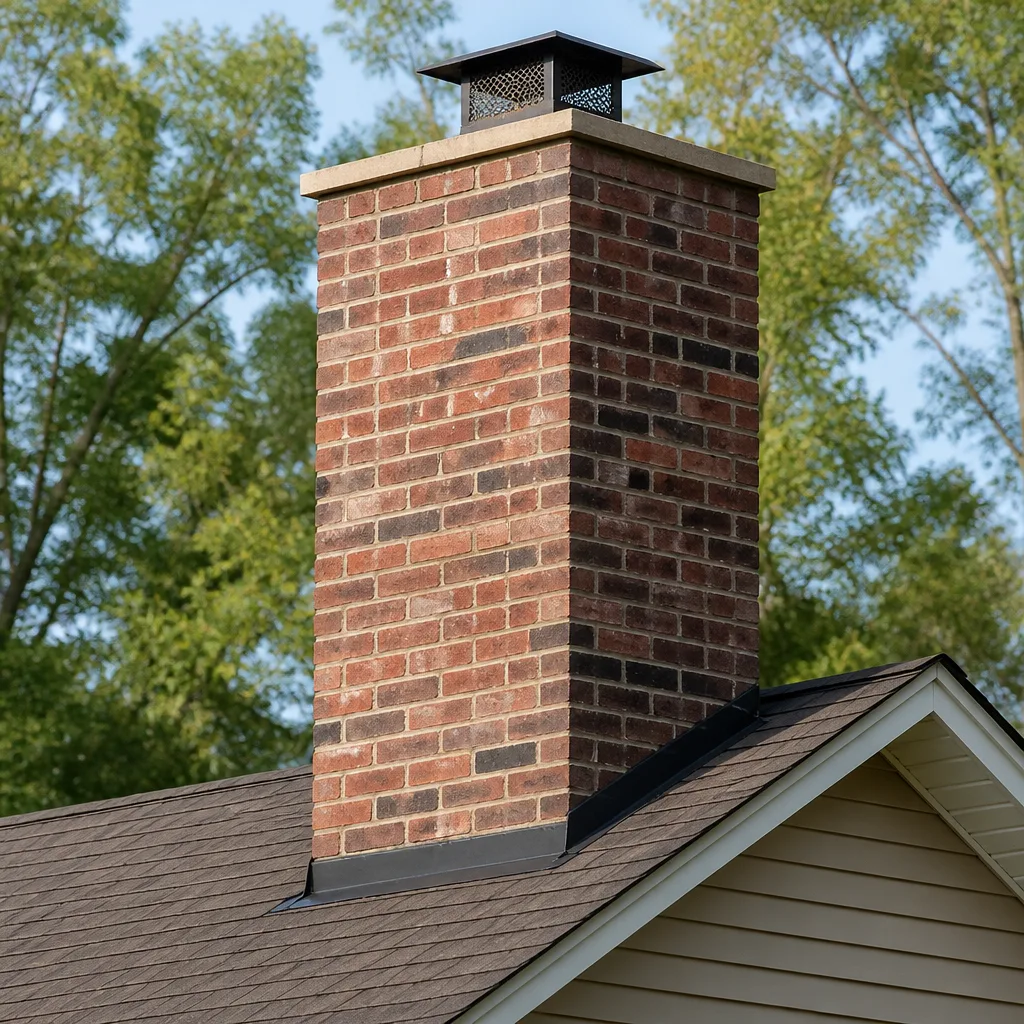 Masonry repair
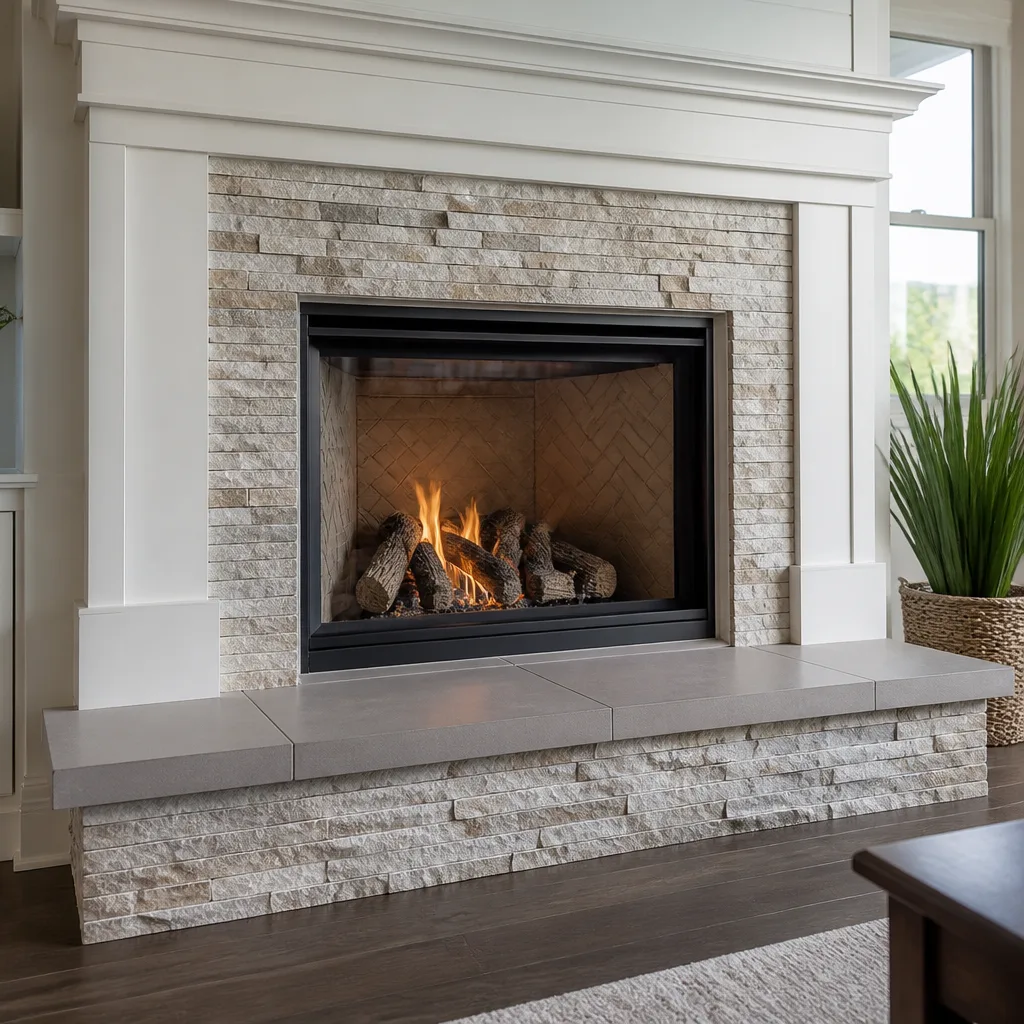 Gas fireplace service
Level 1 sweep and inspection to the NFPA 211 annual standard - flue, crown, cap, and flashing checked and photographed
Chimney sweep logs do not sweep chimneys. They loosen some creosote - which then falls where a brush and vacuum still have to collect it.
Chimney Sweep Maintenance Checklist for Oxford Circle Homeowners
Generic chimney checklists tell you to “inspect the flue annually.” That instruction is useless without knowing what you’re looking for, in what order, and what the finding means for your next heating season. A checklist should be built around what actually fails, not around what’s easy to write down. In a neighborhood like Oxford Circle, where much of the housing stock predates modern venting standards, the failure points are specific and predictable: spalling mortar crowns, clay tile that’s breaking down at the smoke chamber, dampers that stopped seating properly years ago. This guide lays out a maintenance sequence ordered by failure frequency, from the crown down to the hearth, and tells you which checks you can do yourself and which need a trained eye and a camera.
Quick Answer
A working chimney maintenance checklist for Oxford Circle homeowners covers, in order: cap, crown, flashing, masonry joints, flue and smoke chamber, damper, and firebox and hearth. Wood-burning chimneys need an annual sweep and inspection, gas appliances need checking every 2 to 3 years, and oil-fired chimneys need an annual look regardless of how often they run. Self-checks with a flashlight catch exterior problems; internal flue and smoke chamber conditions require a camera inspection to confirm.
Styles & brands we work with
- Sweep & inspection
- Caps & crowns
- Flue relining
- Masonry repair
- Gas fireplace service
Table of Contents
- Why the Sequence of a Checklist Matters More Than Its Length
- Step 1: The Exterior Inspection, From Cap to Flashing
- Step 2: Masonry Joints and the Freeze-Thaw Problem in Oxford Circle
- Step 3: Inside the Flue, Smoke Chamber, and Damper
- Step 4: Firebox, Hearth, and the Fireplace You Actually Use
- How Often Each Fuel Type Needs Attention
- What You Can Check Yourself and What Needs a Camera
- Keeping a Chimney Log So Deterioration Gets Caught Early
Why the Sequence of a Checklist Matters More Than Its Length
Most chimney maintenance checklists are organized alphabetically or by whatever a search result happened to list first. That’s fine for a pamphlet. It’s a poor way to protect a house. A checklist should follow the path your money leaves the building, which means water first, fire second, and everything else after. Water causes more long-term chimney damage than fire does in Oxford Circle, and it gets in at the top: a cracked crown, a missing cap, failed flashing. By the time a homeowner notices a stain on the ceiling, the masonry above the roofline has often been taking on water through several winters.
That’s why we sequence every sweep and inspection from the crown down. Exterior problems are visible, cheap to fix when caught early, and expensive when ignored. Interior problems are less visible but more immediate: a cracked flue tile or a smoke chamber with gaps in its parging sends combustion gases places they don’t belong. Working from the top down means the structural and waterproofing issues get caught before we ever put a brush in the flue.
The four layers of a chimney
Thinking in layers makes the checklist easier to remember and easier to describe to whoever inspects your chimney.
- The weather layer: cap, crown, flashing, and the top few courses of brick above the roofline.
- The structural layer: masonry joints, the chimney’s shoulders and stack, and the smoke chamber parging.
- The fire layer: flue liner, damper, firebox, and hearth.
- The appliance layer: the wood stove, fireplace insert, or gas log set and its vent connection.
Every failure we see in Oxford Circle traces back to one of these layers, and the most common failures cluster in the weather and structural layers. A service that only sweeps the flue addresses the third layer and misses the first two entirely. That’s the difference between a cleaning and a maintenance visit. Our technicians have up to 9 years of experience working chimneys as their sole trade, and the pattern is consistent: the problems that cost homeowners the most money started at the top and worked down.
Step 1: The Exterior Inspection, From Cap to Flashing
Start at the crown and work down. Each feature below has a specific visual indicator that tells you whether it’s doing its job, and a specific consequence when it isn’t.
The cap
A cap does two jobs: it keeps rain and debris out of the flue, and it keeps birds and squirrels from nesting in it. A proper cap is made from a weather-rated material, has a screen or louver arrangement that allows drafting, and is sized to the flue. We install Gelco and Famco caps because they’re engineered for the kind of weather Oxford Circle brick sees year after year. A missing, rusted-through, or loose cap is the single most common exterior finding on older homes in the neighborhood.
What to look for: rust-through on steel caps, gaps between the cap and flue tile, sagging legs, or a cap sitting loose on top of a flue with no anchoring. A cap that’s blowing off in high wind before a winter storm is a leak waiting to happen.
The crown
The crown is the concrete or mortar slab at the very top that sheds water away from the flue. It takes the most direct weather of any part of the chimney. A crown that’s cracked, spalling, or missing a proper overhang lets water into the masonry below, where freeze-thaw does the rest of the damage.
What to look for: cracks wider than a hairline, sections lifting or flaking away (spalling), a crown that’s flat instead of sloped, or a visible gap where the flue tile meets the crown. If you can see daylight through a crack, it’s an active leak path.
Flashing
Flashing is the metal where the chimney meets the roof. It’s the joint most likely to be done poorly in a re-roof, and it’s easy to check from the ground with binoculars. Failed flashing shows up as rust streaks on the roof, gaps at the chimney-roof intersection, or a soft spot in the roof sheathing near the chimney. It’s a roofing-adjacent repair, but on a chimney maintenance visit it’s one of the first things we look at.
Step 2: Masonry Joints and the Freeze-Thaw Problem in Oxford Circle
Oxford Circle’s housing stock is largely older brick, and the way that brick weathers here is not the way brick weathers in a milder climate. The freeze-thaw cycle is the mechanism that breaks down masonry, and it’s worth understanding why. Water gets into a mortar joint or a hairline crack in the brick. A hard freeze expands that water by roughly a tenth of its volume. The ice pushes the joint apart from the inside. When the thaw comes, more water gets in, and the next freeze pushes it open further. A single winter can do several seasons’ worth of damage to a joint that’s already compromised.
That’s why a mortar joint that looks “a little rough” in October can be a spalling, crumbling mess by March. The national conversation about masonry maintenance usually assumes a milder freeze-thaw rhythm than Northeastern Pennsylvania gets. Homeowners who moved here from warmer parts of the country often underestimate how aggressively exposed chimney brick degrades, particularly on the chimney’s chimney-facing and north-facing sides where meltwater sits longest.
What to check on the masonry
- Mortar joints: receding joints (washed-out mortar), crumbling mortar, or joints that look like they’ve been patched with something harder than the surrounding brick.
- Brick faces: spalling brick (a face peeling off), efflorescence (white powder where salts are migrating out), or bricks that have gone soft and crumbly.
- The stack: leaning bricks, shifting at the mid-stack, or gaps where the chimney meets the roof.
- Above the roofline: this is where freeze-thaw works fastest because it’s exposed on all sides with no shelter from wind-driven precipitation.
If joints are bad enough, tuckpointing or a rebuild is the fix, not a surface patch. We work with professional-grade repair systems like HeatShield resurfacing for internal flue damage and full masonry rebuilds for the stack itself. A patch that fails in a second freeze-thaw season is a patch, not a repair. Our chimney repair work is built to last, not patched to pass.
Step 3: Inside the Flue, Smoke Chamber, and Damper
This is the layer most homeowners can’t evaluate on their own, and it’s where a professional chimney sweep earns the fee. Three things matter inside: the flue liner, the smoke chamber, and the damper. Each fails in a characteristic way in Oxford Circle’s older homes.
The flue liner
Most pre-war and mid-century homes in Oxford Circle have clay tile flues. Clay tile is durable, but it cracks and spalls at the joints under thermal stress, particularly at the smoke chamber where temperatures spike. A cracked flue tile lets flue gases and creosote escape into the masonry cavity, which is a fire risk and a carbon monoxide risk at the same time. The only reliable way to see a cracked tile is with a camera. A flashlight from the firebox can’t see around the throat and up the flue.
When the liner is compromised, the correct repair is a new liner, not a patch. We install DuraFlex flexible liner systems, which are a professional-tier product used in chimney relining nationwide. From the inside, a camera inspection confirms exactly what the liner has been hiding.
The smoke chamber
The smoke chamber is the upside-down funnel above the firebox where smoke transitions from the wide fireplace into the narrow flue. In older homes, it was often built with a rough brick interior that never got properly parged. Rough smoke chamber walls collect creosote and slow the draft, and over time the parging (the smooth coating on the chamber walls) breaks down. HeatShield resurfacing is a code-compliant repair system for exactly this kind of deterioration. A smoke chamber with failing parging isn’t a cosmetic problem; it’s a draft and safety problem.
The damper
The damper is the metal plate above the firebox that seals the chimney when the fireplace isn’t in use. A damper that doesn’t seat properly does two things: it lets heated air from the house escape up the chimney all winter, and it lets cold air come down when the fireplace is cold. In Oxford Circle’s older homes, it’s common to find a damper that’s been stuck open or stuck closed for years. Check that it opens, closes, and seats flush. If it doesn’t, it’s a repair issue that gets handled on the same visit.
Step 4: Firebox, Hearth, and the Fireplace You Actually Use
The firebox is where the fire actually burns, and it takes the most direct heat stress of any part of the system. Firebrick and the mortar joints between firebrick fail through thermal cycling, and the consequences are serious: gaps in the firebox let heat and embers reach the framing behind the fireplace. This is the layer where we most often find a repair that’s overdue without anyone realizing it.
What to check on the firebox and hearth
- Firebrick: cracked or missing firebrick, receded mortar joints, or brick that’s been replaced with standard brick instead of fire-rated brick.
- Firebox walls: gaps between the firebox and the surround, rusted metal firebox panels on factory-built units, and crumbling mortar at the rear wall.
- Hearth: a hearth extension that meets code, an intact hearth surface, and no gaps between the hearth and the firebox floor.
- The fireplace surround: rust streaks, efflorescence, or stains that suggest water is coming in from the exterior and finding its way to the fireplace.
Gas inserts and log sets follow the same structural pattern but add venting considerations. A gas appliance that runs regularly still benefits from an inspection, and any signs of venting problems (moisture on the glass, soot at the vent, or unusual smells) should be checked right away.
How Often Each Fuel Type Needs Attention
The annual inspection rule is the right starting point, but it’s not the whole picture. Different fuels put different loads on the chimney and produce different failure patterns, so the interval should match what’s actually happening in the flue.
Maintenance intervals by fuel type
| Fuel type | Typical interval | Why |
|---|---|---|
| Wood-burning (open fireplace or wood stove) | Annual minimum | Creosote accumulation is continuous and unpredictable; an annual sweep clears it before it becomes a fire risk. |
| Gas (logs, inserts, appliances) | Every 2 to 3 years | Gas burns cleaner, so the flue needs less frequent sweeping, but venting issues and appliance condition still need periodic checking. |
| Oil | Annual | Oil appliances produce soot and sulfur byproducts that accumulate regardless of how much the appliance runs. |
Two things override the schedule above. First, any change in how the chimney behaves (draft problems, smells when it’s not in use, moisture at the firebox) means a call now, not at the next scheduled interval. Second, a home that’s just changed hands should get an inspection regardless of the prior owner’s maintenance history. A chimney log, if one exists, is the best guide; if not, the inspection is the starting point.
What You Can Check Yourself and What Needs a Camera
Some of the checklist is genuinely owner-friendly. Other parts are not, and the honest answer is that trying to check them yourself is worse than not checking at all: a flashlight-and-mirror look into the flue can create a false sense of security, and a homeowner leaning into a firebox with a light can put themselves in a bad position if there’s a hidden structural issue.
Safe self-checks (with a flashlight, no climbing)
- Cap condition from the ground with binoculars: missing, rusted, or clearly loose.
- Crown from the ground or a window: visible cracks, spalling, or gaps.
- Flashing: rust streaks on the roof, missing metal, or daylight at the chimney base.
- Masonry joints on the exposed stack: crumbling mortar visible from the yard.
- Damper operation: opens, closes, seats properly, from inside the firebox.
- Firebox condition: visible cracked or missing firebrick, gaps, or crumbling mortar.
Needs a professional and a camera
- Flue tile condition: cracked tiles, offset joints, or missing mortar at the tile joints, invisible from below.
- Smoke chamber parging: only visible from above or with a camera, and only a trained eye can judge whether the parging is still doing its job.
- Creosote thickness: the degree of glazing determines whether a sweep is routine or urgent, and the assessment needs the flue to be fully visible.
- Liner integrity: any compromised liner needs a camera-confirmed diagnosis before a repair is specified.
This is where a professional sweep and inspection earns its keep. We include a camera inspection and a photo report with our sweep so you can see exactly what we saw. No recommendations get made without a photograph you can look at yourself. That’s the standard we hold ourselves to on every visit.
Keeping a Chimney Log So Deterioration Gets Caught Early
The single best thing a homeowner can do for a chimney is also the cheapest: keep a log. A chimney is a slow-deteriorating system, and slow deterioration is invisible to anyone who only sees it once every few years. A log turns each visit into a comparison against what the chimney looked like last time, and lets a technician spot progressive problems instead of treating every visit as a first look.
What to record
- Date of each sweep or inspection, and who performed it.
- What was found, in plain language (cracked crown, glazed creosote at the smoke chamber, offset flue tile, etc.).
- Photographs, both the sweep’s photo report and any of your own from the ground.
- What was repaired or replaced, and with what material.
- What was flagged for next time: a crown that’s starting to spall, a joint that’s receded but not yet failed.
- Fuel type and usage pattern, including any change (switching from wood to gas, adding an insert, etc.).
A log doesn’t need to be fancy. A folder with the photo reports from each visit, plus a one-page summary sheet, is enough. When a technician can compare this year’s photo of the crown to last year’s, the decision about whether to repair now or wait gets much easier. We’d rather tell you a crown has a couple of seasons left than sell you a rebuild you don’t need.
Common Mistakes to Avoid
- Treating a sweep as a one-time thing. A sweep clears what’s there; it doesn’t stop what accumulates next. Skipping a year after a clean flue is how creosote gets to a dangerous thickness before anyone looks again.
- Assuming a clean-looking cap means the flue is fine. Exterior appearance and interior condition are unrelated. A cap can be perfect while the flue tiles above the smoke chamber are already cracked.
- Letting a small crown crack become a rebuild. The crown is the cheapest part of a chimney maintenance checklist to address and one of the most expensive to ignore. Water through a hairline crack becomes masonry damage that no patch will fix.
- Using a general handyman for flue and smoke chamber work. Chimney repair is its own trade, and the code requirements around liner and smoke chamber repair are specific. A generalist can patch a joint; they can’t reliably specify a liner or resurface a smoke chamber to code.
- Ignoring the gas appliance because “it burns clean.” Clean-burning gas still produces moisture, and venting issues show up as moisture at the glass or soot at the vent. Those are worth a call regardless of the interval.
- Starting a wood-burning season without an inspection. The first fire of the season is a bad time to discover a cracked flue tile. An inspection before the first burn is the cheapest insurance in the checklist.
- Throwing away the photo report. It’s the only record of what your chimney looked like at that moment. Without it, the next visit has no baseline to compare against.
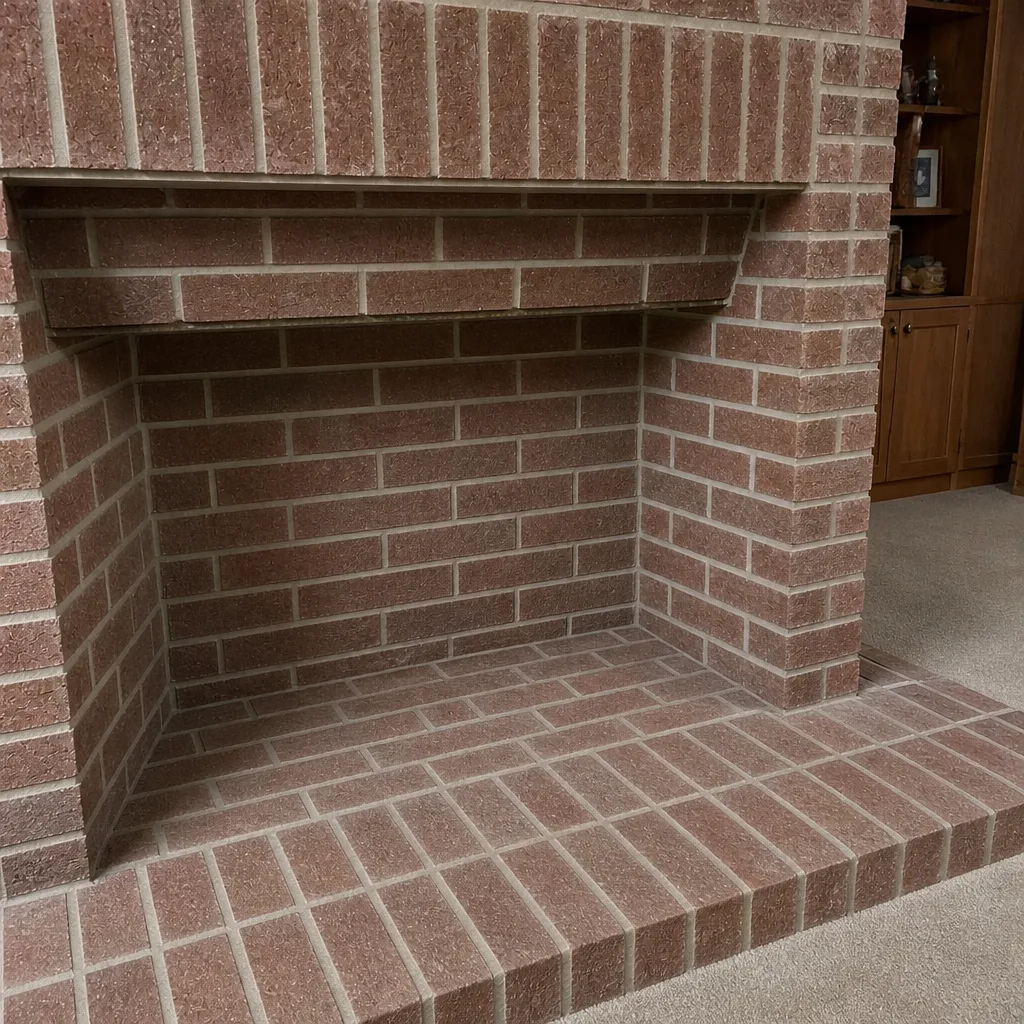
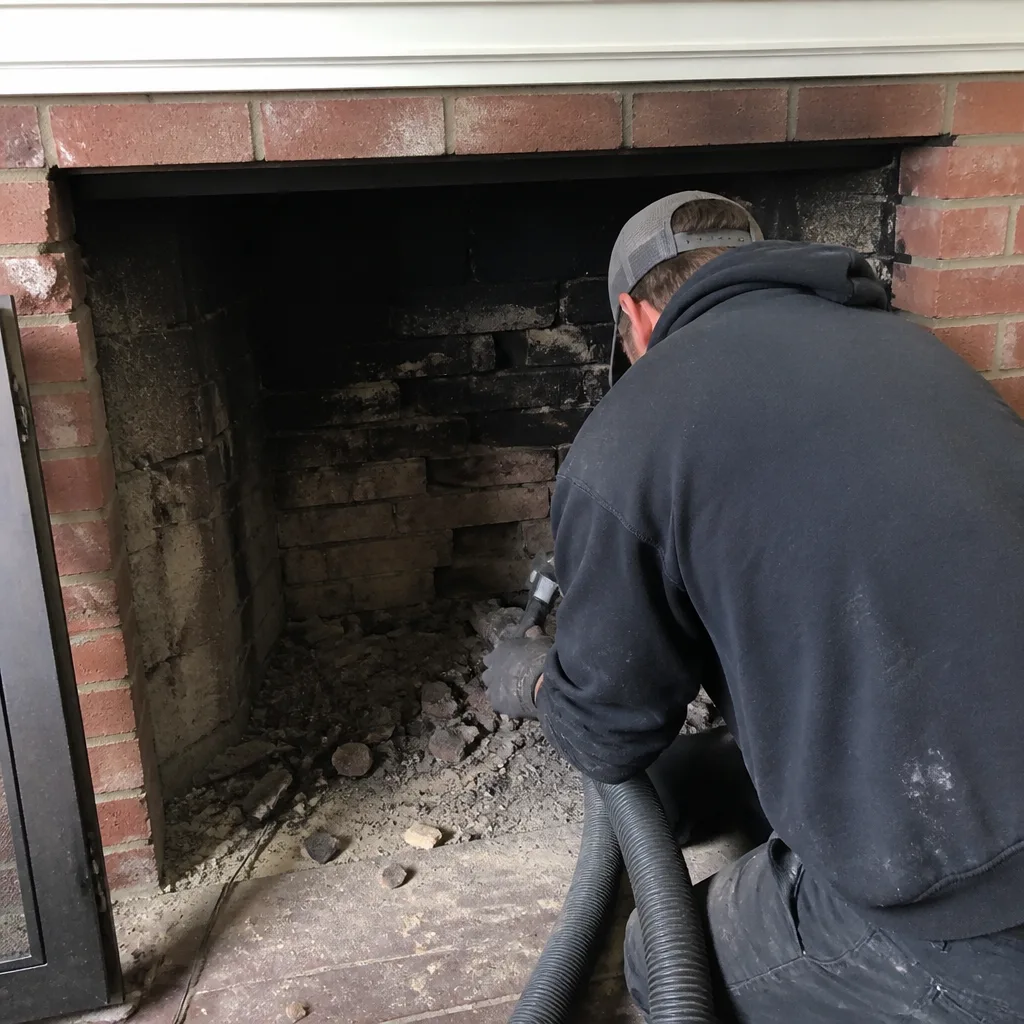
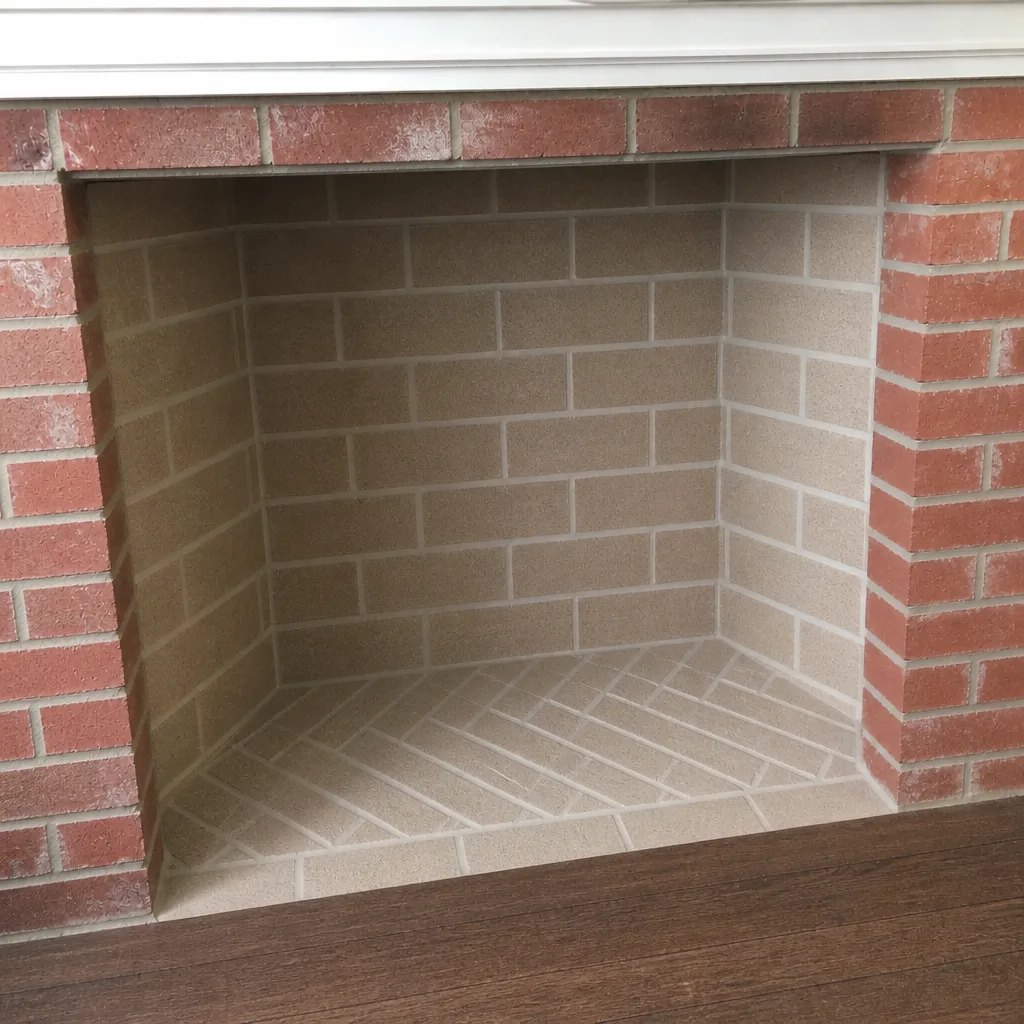
See the difference
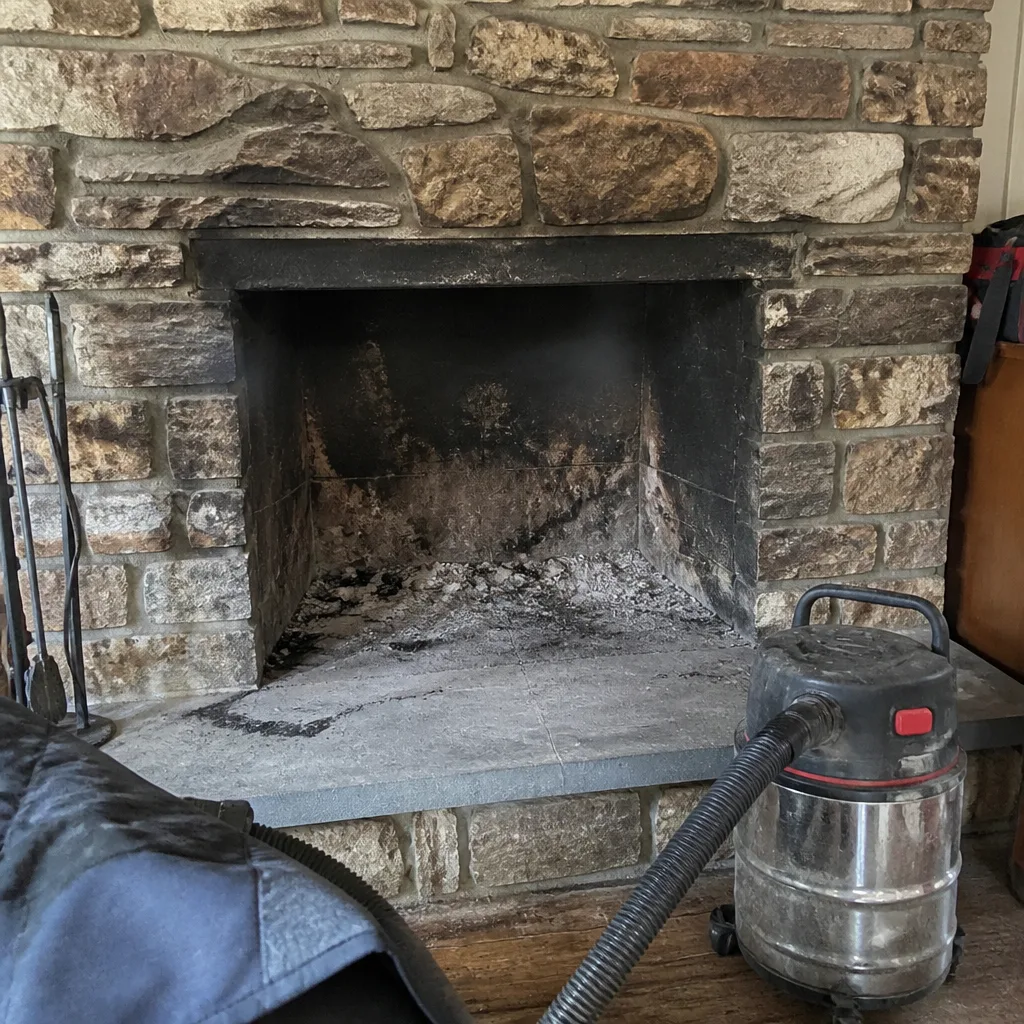 Before
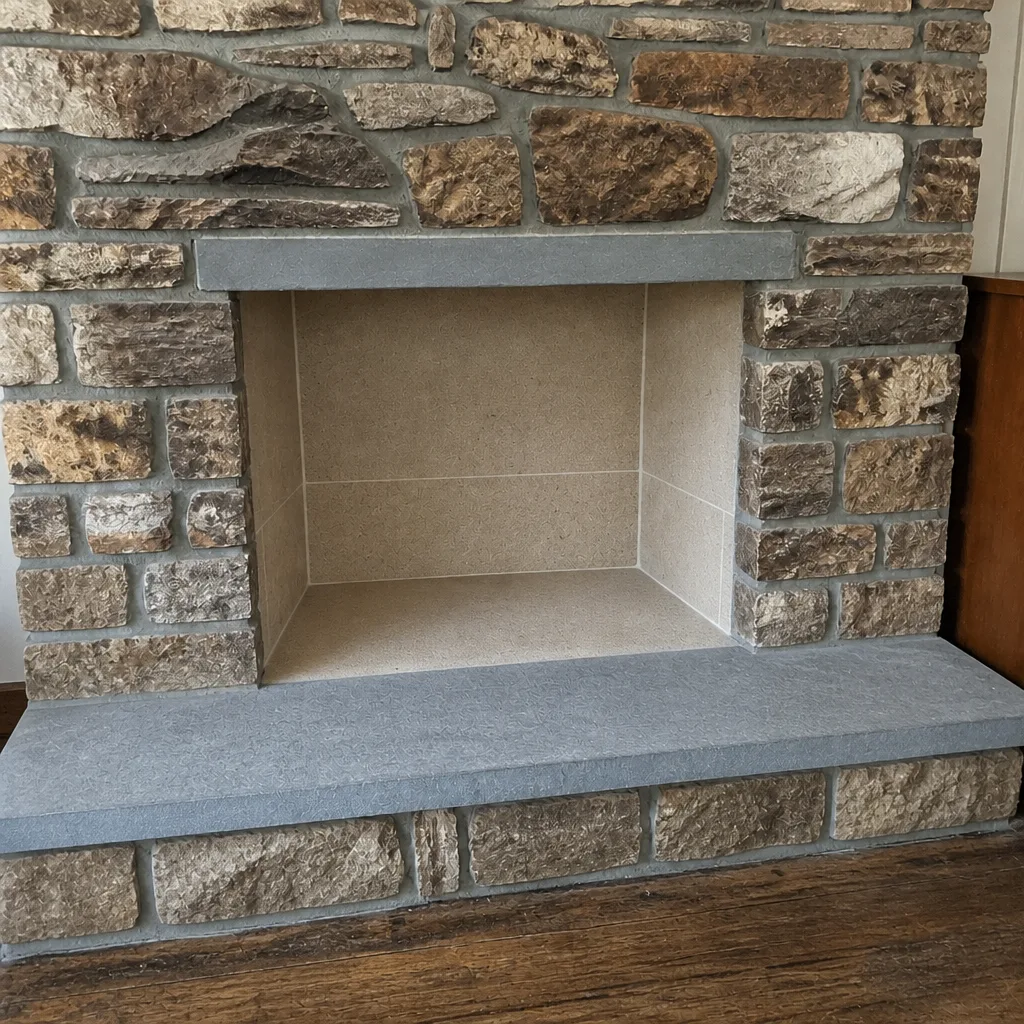 After
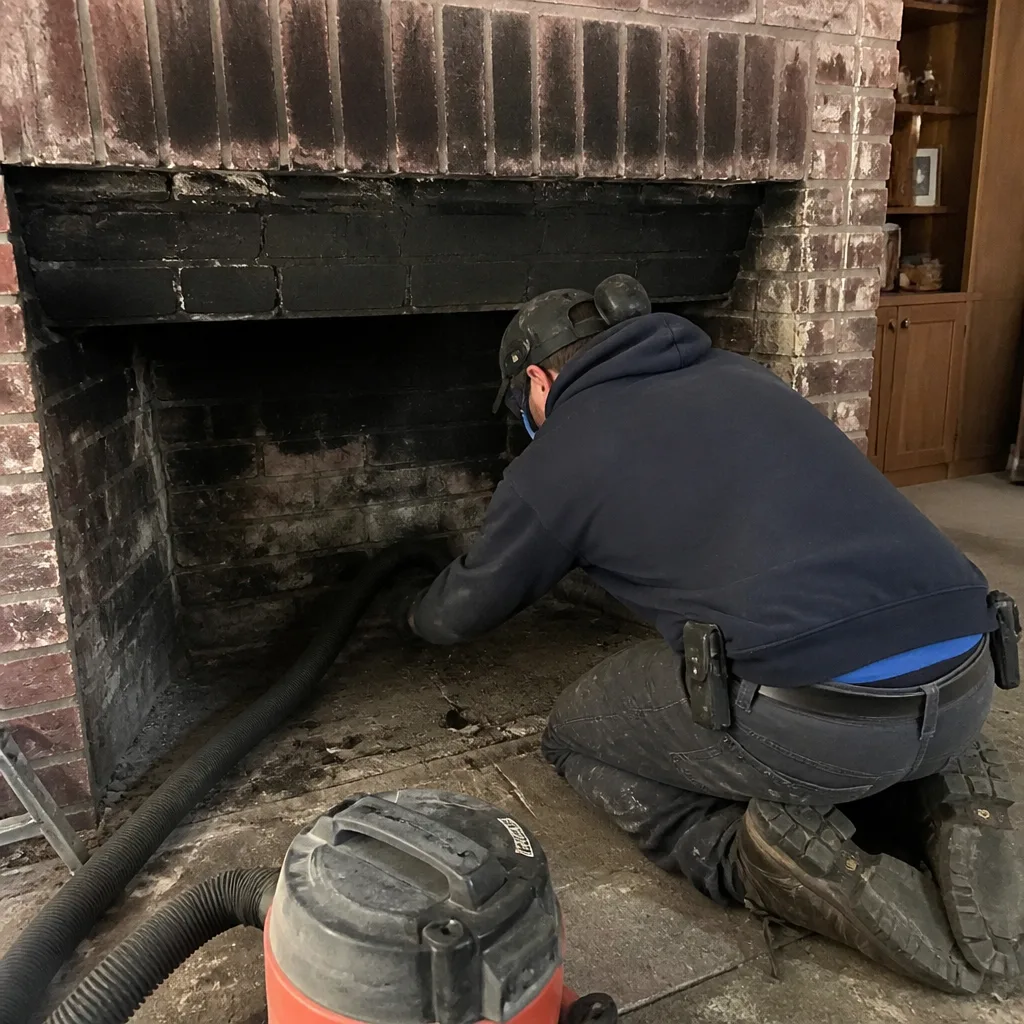 Before
 After
 Before
 After
When to Call a Professional
Call a professional chimney technician when any of the following shows up on your checklist: a cap that’s missing, loose, or rusted through; a crown with cracks or spalling; masonry joints that are crumbling or receding; visible daylight or rust streaks at the flashing; a damper that doesn’t seat; cracked or missing firebrick; any change in draft, smell, or moisture at the firebox. Also call if your chimney hasn’t been inspected in more than a year and you burn wood, more than 2 to 3 years with gas, or more than a year with oil. And call before the first fire of any heating season if you’ve never had an inspection in this home. Chimney Sweep Oxford Circle offers free estimates in Oxford Circle. Call (855) 259-0792. We answer 24/7. Fast dispatch from 7am to 7pm, Sunday through Friday.
Frequently Asked Questions
Wood-burning chimneys should be swept and inspected annually. Gas appliances should be checked every 2 to 3 years unless there are venting issues, and oil appliances annually regardless of how often they run. The annual interval matters more in Oxford Circle’s older housing stock, where clay tile flues and original smoke chambers have often been through decades of freeze-thaw cycles. Call (855) 259-0792 for an exact quote. Estimates are free.
Pricing is set per job by a written estimate, so the range depends on what the inspection finds: a straightforward sweep is one thing, a sweep plus a camera inspection and a minor repair is another. We give a flat-price estimate before any work starts, and the written estimate sets the final price. Call (855) 259-0792 for an exact quote. Estimates are free.
Not unless the inspection shows the existing liner is compromised. A cracked clay tile, offset joints, or failing parging at the smoke chamber is what justifies a liner, and the decision should be based on camera evidence you can look at yourself. If the liner is intact, we’ll say so. If it isn’t, we’ll show you why a liner is the right repair and specify it with a product like DuraFlex flexible liner, which is used in chimney relining nationwide. We don’t recommend work that a photo can’t support. Call (855) 259-0792 for an exact quote. Estimates are free.
Creosote accumulates regardless of whether anyone sweeps, and glazed creosote is combustible. A flue with heavy creosote is a fire risk, and a cracked flue tile that goes unnoticed lets combustion gases reach the masonry cavity, which is a carbon monoxide concern as well. The risk builds slowly and silently, which is exactly why the annual sweep exists. If it’s been more than a year, call (855) 259-0792 for an exact quote. Estimates are free.
You can safely check the cap and crown from the ground with binoculars, look for rust streaks or gaps at the flashing, check the damper from inside the firebox, and look for cracked firebrick. What you can’t check without a camera is the flue tile and smoke chamber condition, and that’s the layer where the most consequential problems hide. Our chimney sweep service includes a camera inspection and a photo report so you can see exactly what we find.
Yes. Gas and oil appliances change the interval and the failure pattern, not the sequence. The weather layer (cap, crown, flashing) still gets checked first because water damage is the same regardless of fuel. Out of the chimney flow, gas appliances need venting checks and oil appliances need soot inspection, which is why the fuel type belongs in your chimney log. If you’ve changed fuels, tell us when you call so we inspect the right things.
Every sweep should include it, and with us it does. The cap and crown are the first line of defense against the freeze-thaw damage that ages chimneys in Oxford Circle fastest. If we find a failing cap or crown, we specify the repair with a product like Gelco or Famco caps, or a resurfaced crown, depending on what the chimney needs. Our chimney cap & crown work is part of the same visit as the sweep.
Resurfacing means applying a code-compliant repair system to the smoke chamber walls to replace failing parging and produce a smooth, correctly shaped transition from the firebox to the flue. HeatShield resurfacing is the system we use for this. It restores proper drafting and protects against the creosote buildup that rough chamber walls cause. It’s a repair, not a cosmetic improvement, and it’s often diagnosed during a routine sweep.
The Bottom Line
A chimney maintenance checklist is only useful if it’s ordered by what actually fails. In Oxford Circle, that means water damage from the cap and crown first, freeze-thaw damage to exposed masonry second, and internal flue and smoke chamber condition third, with the firebox and damper handled alongside. Wood-burning chimneys need an annual sweep and inspection, gas appliances need checking every 2 to 3 years, and oil appliances need an annual look. Self-checks with a flashlight and binoculars catch exterior problems; the flue tile, smoke chamber, and liner need a camera and a trained eye. Keep a log so deterioration gets caught early instead of showing up as a surprise. Our Chimney Sweep Oxford Circle team handles the sweep, the inspection, the cap and crown work, the liner, and the rebuild if one becomes necessary, so a homeowner never has to schedule a second contractor. Call (855) 259-0792. We answer 24/7. Fast dispatch from 7am to 7pm, Sunday through Friday.
Talk to Us Before the Heating Season
You don’t have to guess whether your chimney is ready for the cold. The chimney services we offer cover the whole system, from the cap and crown down to the firebox and hearth, with a camera inspection and photo report included on every visit. If the checklist above turns up a cracked crown, a failing cap, or a damper that won’t seat, we can source the right materials and handle the chimney repair on the same visit. Book a sweep and inspection before the first fire of the season. Call (855) 259-0792. We answer 24/7. Fast dispatch from 7am to 7pm, Sunday through Friday. The estimate is free, and the written estimate sets the final price.
Written by the team at Chimney Sweep Oxford Circle.